Rainmail Server includes a default Fax client for Windows 8 Operating System. The steps given below provide instructions to install and configure the Fax client on a Windows 8 system. For successful completion of the installation, make sure you are logged in to your Windows machine as Administrator
- Open Rainmail Server home page. It will contain a link to Hylafax client (as indicated by the red oval)
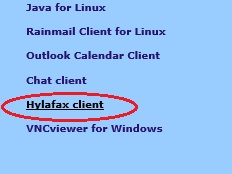
- Click on Hylafax client (indicated by the red oval in the image above)
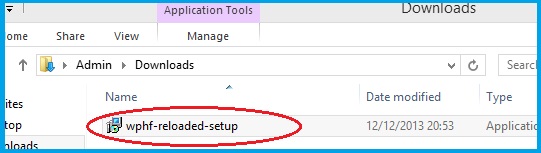
- The executable file wphf-reloaded-setup is downloaded. Double click on wphf-reloaded-setup (indicated by the red oval)
- The following pop up appears. Click on OK
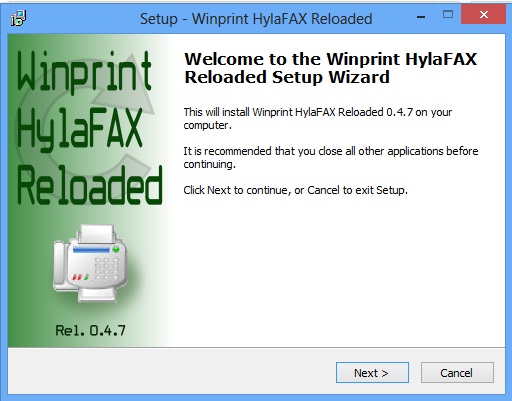
- The Winprint HylaFAX setup screen appears. Click on Next
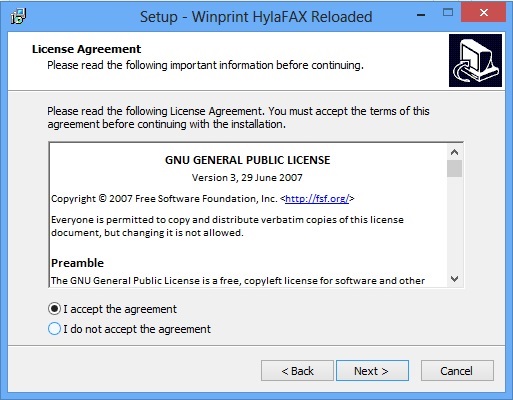
- The License Agreement screen appears. Click on I accept the agreement and Click Next
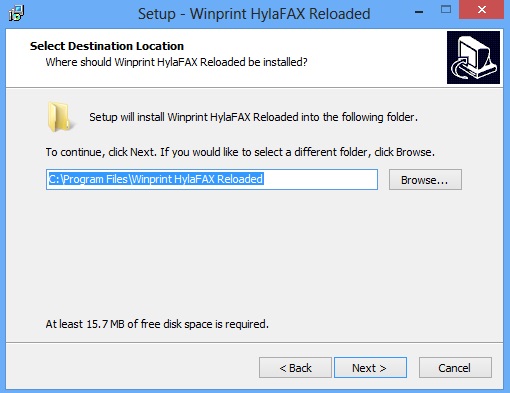
- The following dialog appears. Click on Next
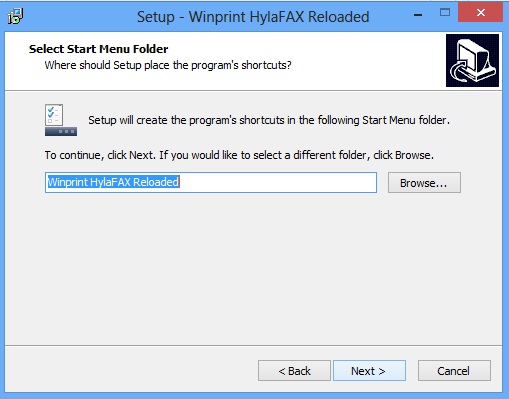
- The Select Start Menu Folder dialog appears. Click Next
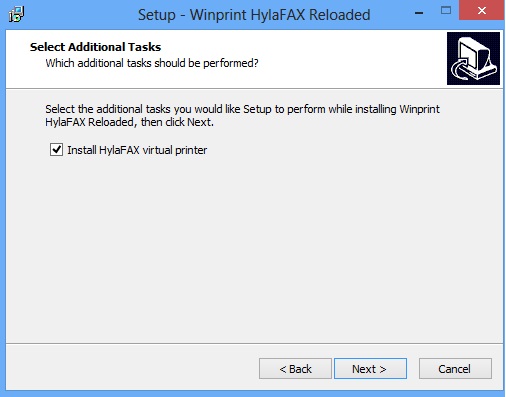
- The following screen appears. Click Next
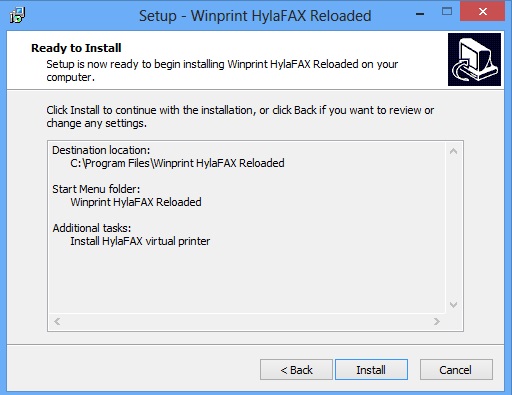
- The Ready to Install screen appears. Click on Install
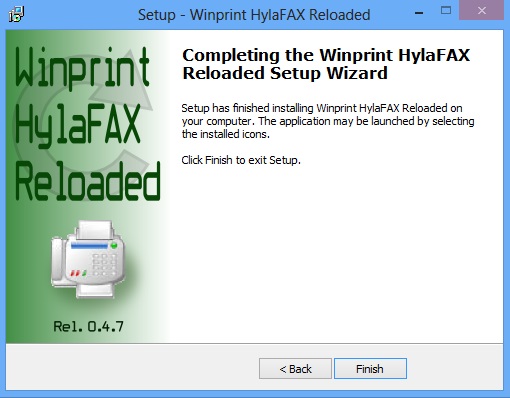
- The Fax client will be installed and on successful completion, the following message is displayed. Click Finish to complete the installation.
- You will now proceed to install a Fax Printer to send faxes.
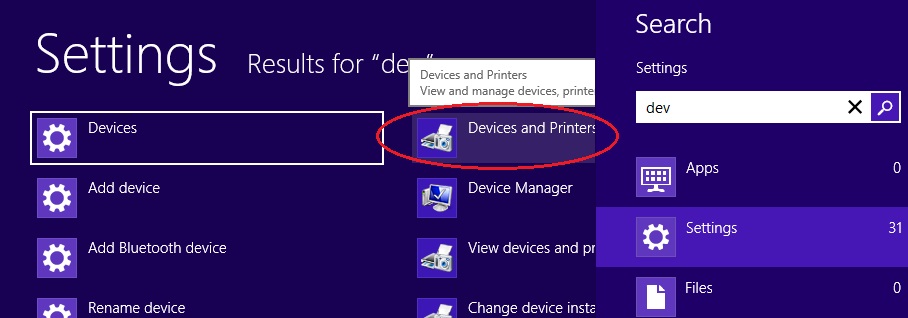
- On your Windows 8 machine, click on the search icon in the Sidebar and type devices.
- The Settings menu appears. Click on Devices and Printers (indicated by the red oval)
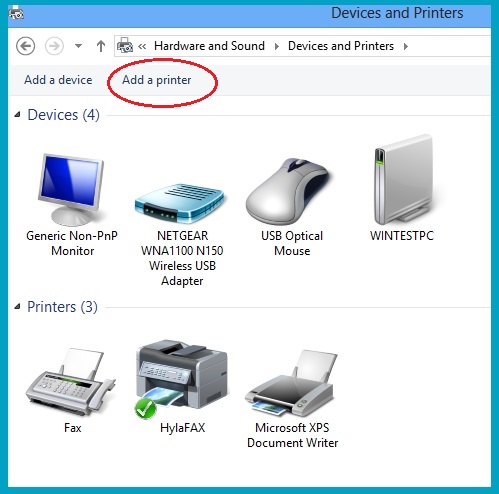
- The following dialog appears. Click on Add a printer (indicated by the red oval)
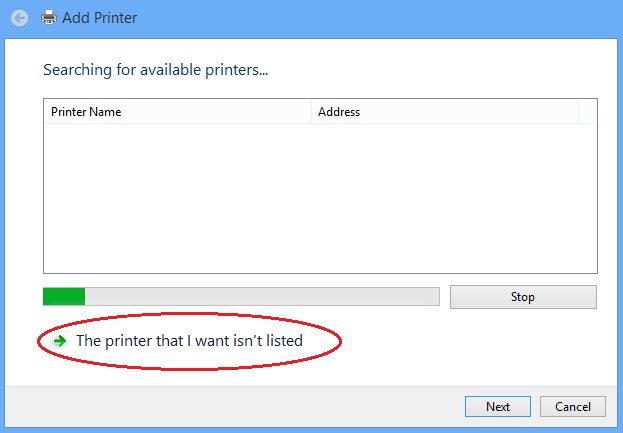
- The following dialog appears. Click on The printer I want isn't listed (indicated by the red oval)
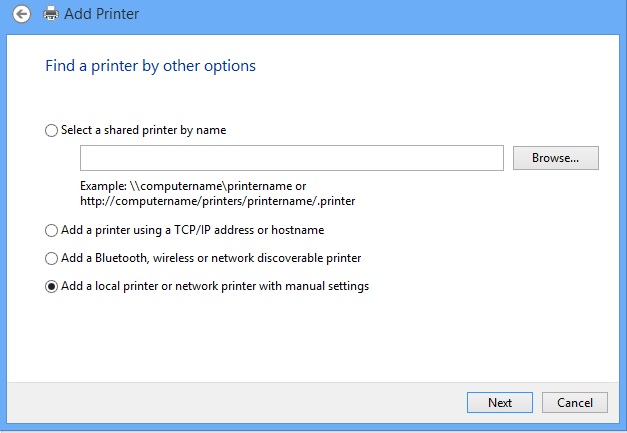
- The following screen appears. Select Add a local printer and click Next
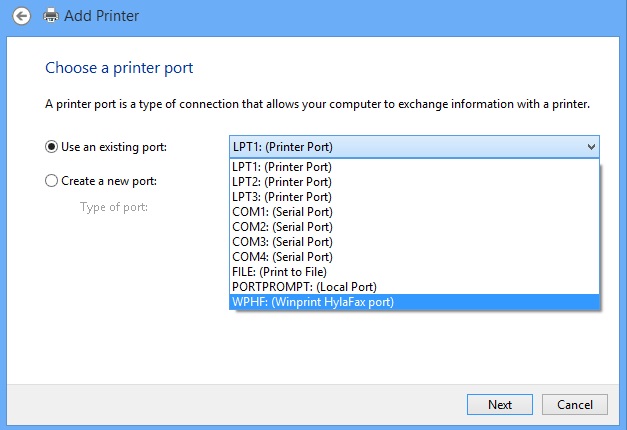
- The following screen appears. Select Use an existing port: , and from the list choose WPHF: (Winprint Hylafax port). Click on Next
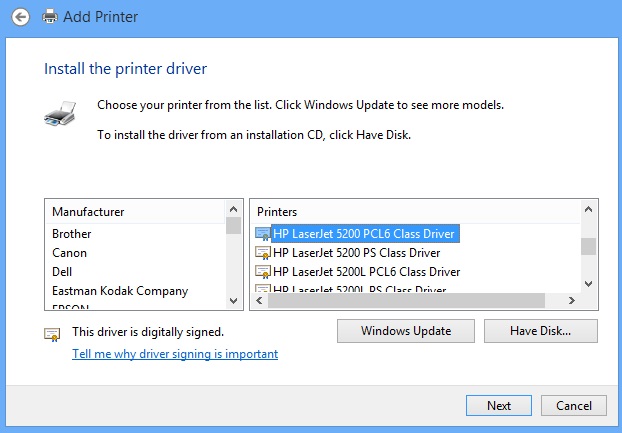
- The following dialog appears. Select HP from list of Manufacturers list and select HP LaserJet 5200 Series PCL6 from list of Printers.Click on Next
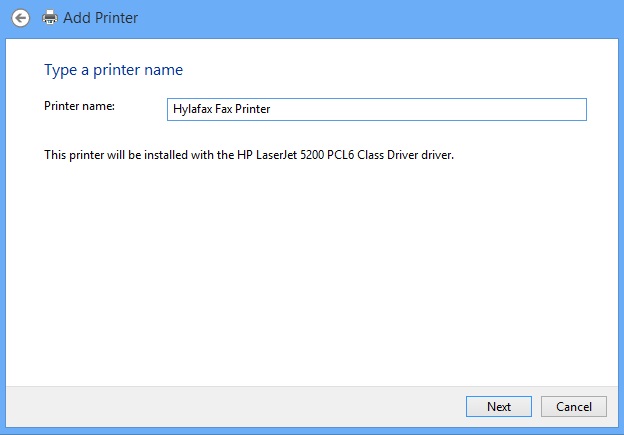
- The following dialog appears. Enter Printer name: as Hylafax Fax Printer and click on Next
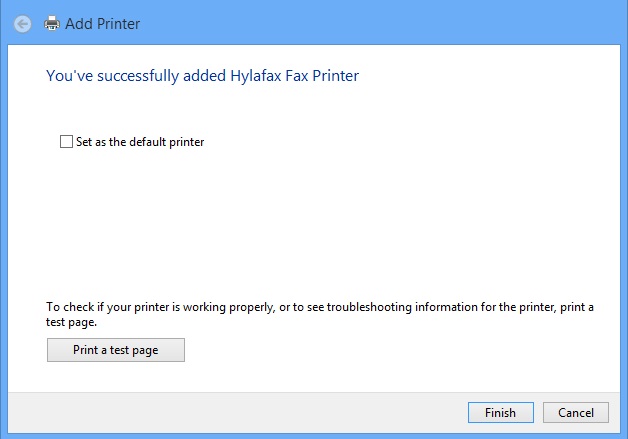
- The Fax printer will be installed and the following dialog is displayed. Uncheck the box next to Set as the default printer and click on Finish
- The Fax printer is added to the list of printers. Close the dialog.
- You will now proceed to configure Winprint Hylafax Client for use with your Rainmail Server.
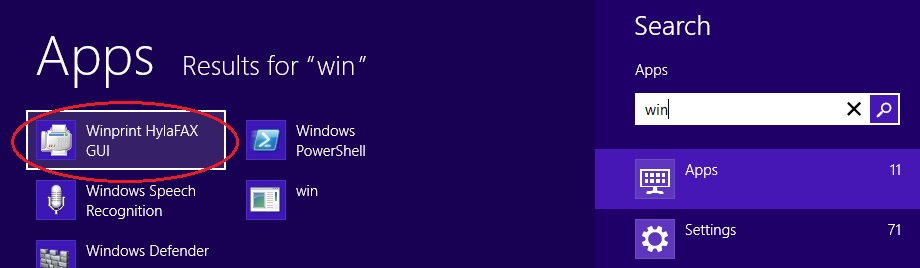
- Click on the Search icon located on the Side Bar of your Desktop and type winprint
- From the search result, select Winprint HylaFAX GUI (indicated by the red oval)
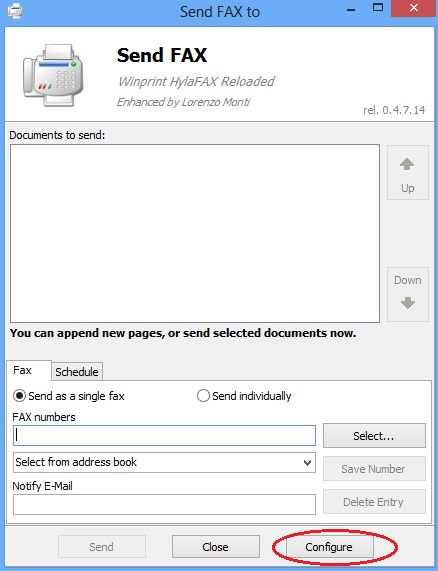
- The Send Fax screen appears. Click on Configure (indicated by the red oval)
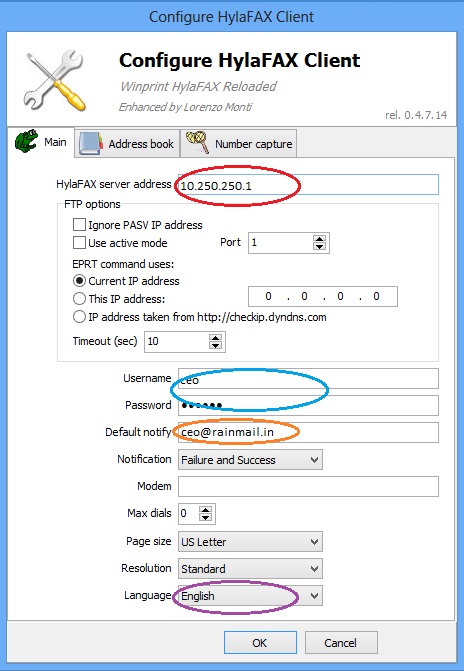
- The Configure HylaFAX client screen appears.
- In the edit box next to HylaFAX server address,(indicated by the red oval) enter the IP address of your Rainmail Server
- Enter your Rainmail account's Account name and the corresponding Password in the Username and Password fields (indicated by the blue oval)
- Enter your Rainmail email address in the Default notify field (indicated by the orange oval) Notifications of success or failure in sending a fax will be sent to this email address
- Click on the drop down box next to Language (indicated by the purple oval) and select English
- Click on OK
- Fax client installation and configuration is complete. You can now send fax messages directly from your Desktop


