In Rainmail Web mail, users can define email templates (called Stationery) and use them when sending emails. A stationery can be created as follows:
- In the User Preference page, click on the Edit Stationery icon (indicated by Red Square below).

- That will bring up the following Window
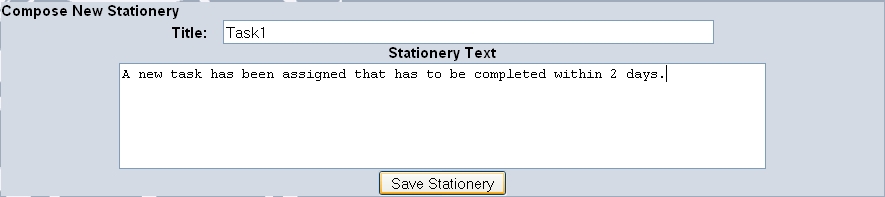
- Enter a name for the Stationery in Title: field.
- Enter the template text in Stationery Text field.
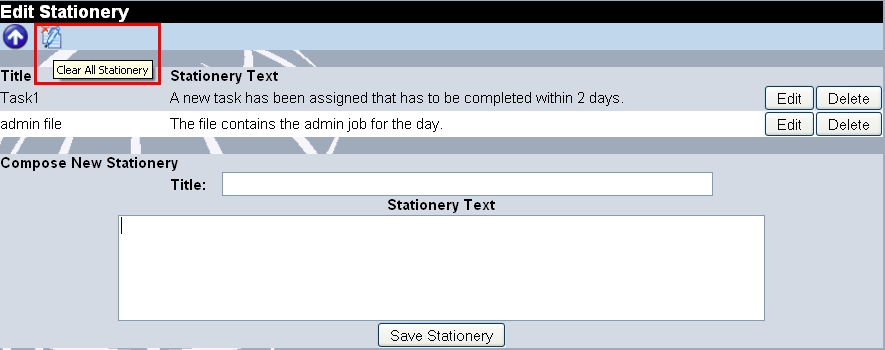
- Click on Save Stationery button. That will save the stationery and display the following Window

- A stationery can be Changed/Deleted by clicking on the Edit/Delete button (respectively) in the above Window.
- The set of existing stationery can be cleared by clicking on the Clear Stationery icon on top of the Window (as indicated in red below).
- Whenever an email is displayed for reading and stationeries are enabled, the application allows user to select a Stationery for reply (as indicated by a Red Oval below):

- When chosen, the reply message is populated with Stationery text. This is useful for sending Standard replies to certain emails.


