In this section, the steps for configuring Windows 7 to dial-in to a corporate network is given.
- On your desktop, click on Start button. That will display the following menu

- Click on Control Panel. That will bring up the following Window.

- Click on View network status and tasks. That will bring up the following
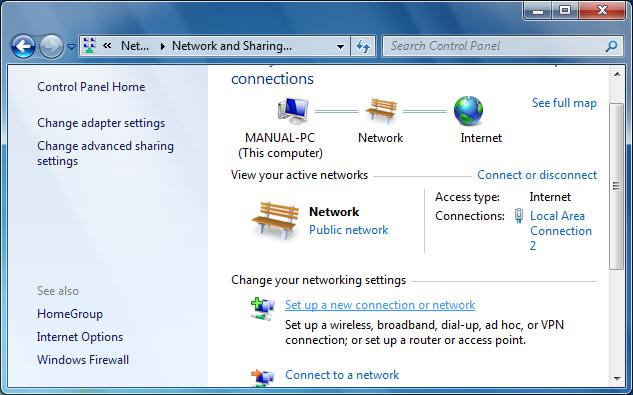
- Click on Set up a new connection or network. That will bring up the following.
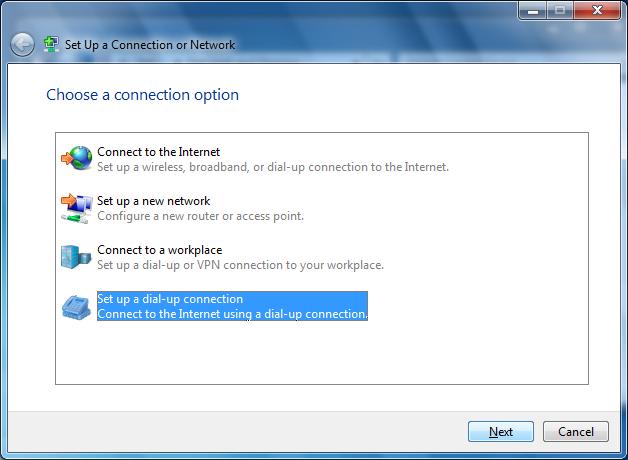
- Select Set up a dial-up connection and click on Next. That will bring up the following

- Enter the phone number provided by Rainmail Administrator in Dial-up phone number: field.
- Enter Rainmail account name in Username: field.
- Enter Rainmail account password in Password: field.
- Specify a name for the connection in Connection name: field.
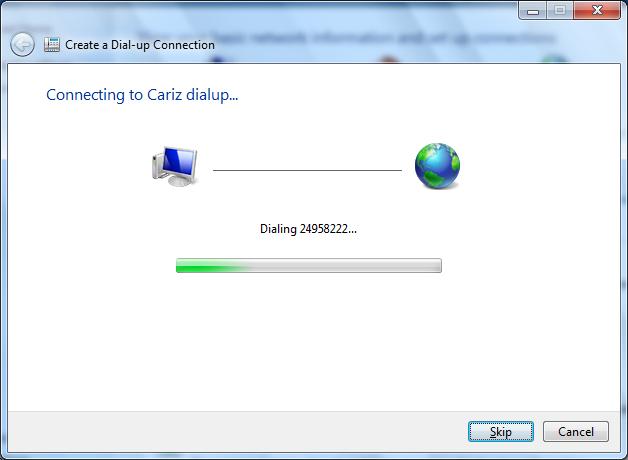
- Click on Connect. Windows will now check the connection.
- If all the connection parameters are correct, Windows will create a new connection and display the following dialog.
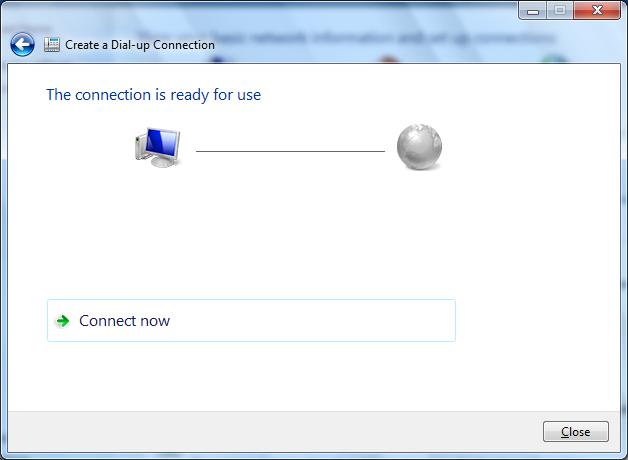
- The connection is now setup and ready.


